Getting Started
Welcome to CodeFrame! This guide will walk you through downloading, installing, and creating your first C++ project.
Optional Prerequisites:
- VS Code — great IntelliSense and tight workflow with CodeFrame
(Open the project or its.code-workspacefor best results.) - Git — for cloning projects and templates
- Windows: Git for Windows (includes Git Bash terminal)
- macOS/Linux: (Coming Soon) Usually preinstalled or available via package manager
Step 1 - Download CodeFrame
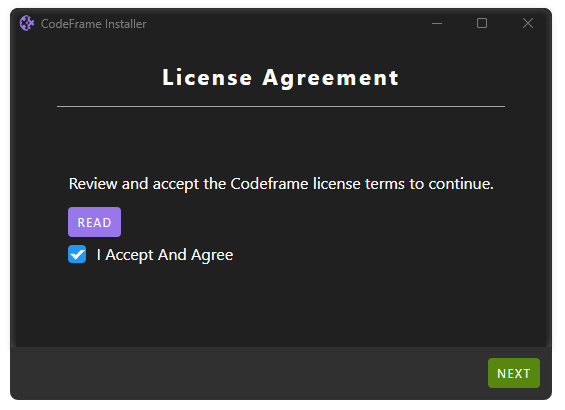
Step 2 — Install CodeFrame
Follow the instructions on our installer to install codeframe.
At this time, the CodeFrame installer is not digitally signed. While we can assure you that it is safe, contains no viruses, and comes directly from the official CodeFrame source, Windows may display a warning when you run it.
It is entirely up to you to decide whether to proceed and allow the installation.
Step 3 — Create Your First Project
Once installed, open a terminal in your desired workspace folder and run:
cf new
Step 4 — Choose a Template
CodeFrame comes with multiple project templates. When prompted, pick the one that best fits your needs:
- Default — Minimal setup to get started quickly.
- CLI — Command-Line interface project template.
- Game — A basic raylib template to start developing your game.
- (Coming Soon) GUI - Event-driven graphical application with a native window.
Step 5 — Open Your Project With VSCode
For its excellent integration with CodeFrame we recommend downloading VSCode.
To open your new project folder in VS Code:
code ./[PROJECT_NAME]
To open the workspace double click on the .code-workspace file inside the folder or run
code ./[PROJECT_NAME]/[PROJECT_NAME].code-workspace
Step 6 — Build & Run
From your project folder:
cf build
Then run your project
./build/default/[PROJECT_NAME].exe
CodeFrame is not yet production-ready. Use with caution—APIs and commands may change as development continues and the tool evolves.